Non-destructive testing or NDT is the overarching term used to describe various testing methods that are used to inspect for flaws or defects in an item or object, in a non-invasive way e.g. dye penetrant test, magnetic particle inspection, ultrasonic inspection, and radiographic examination.

Ultrasonic Weld Testing (UT)
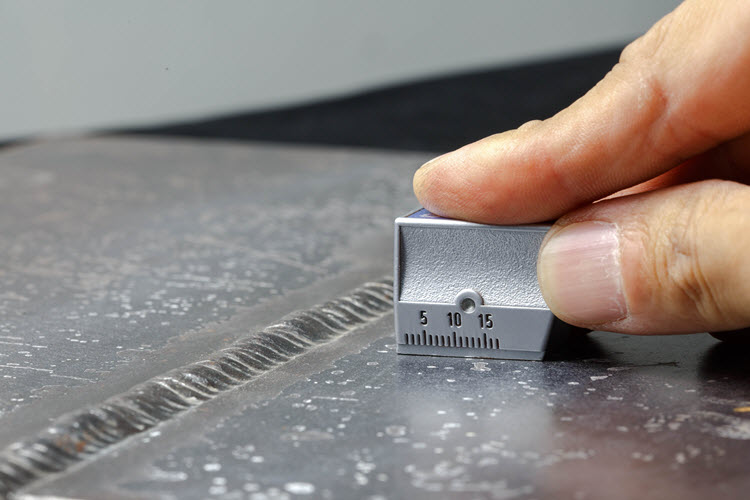
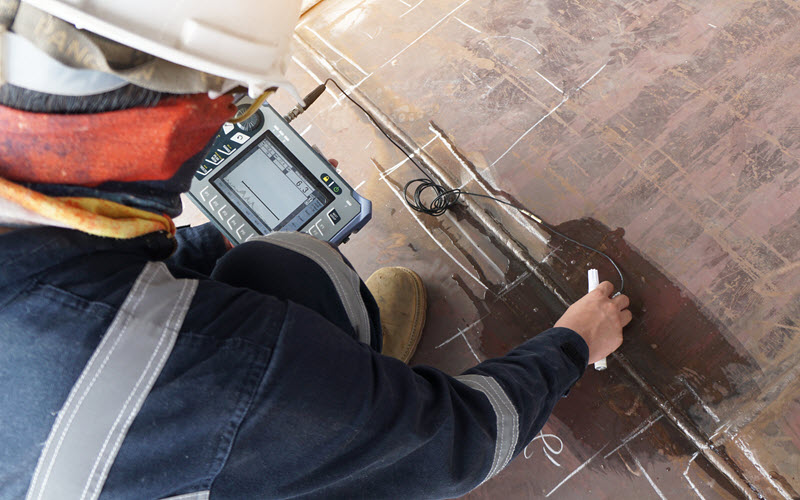
Ultrasonic testing utilises high-frequency sound waves that propagate through the desired object, at a known constant angle. When the sound wave hits a reflecting point from either a flaw or the back-wall, the technician is able to interpret the response off the screen of the ultrasonic unit and can compare the signals with the appropriate standards; to give a result.
Testing to AS, ASME, & ISO standards available.

Ultrasonic Thickness Survey (UTT)
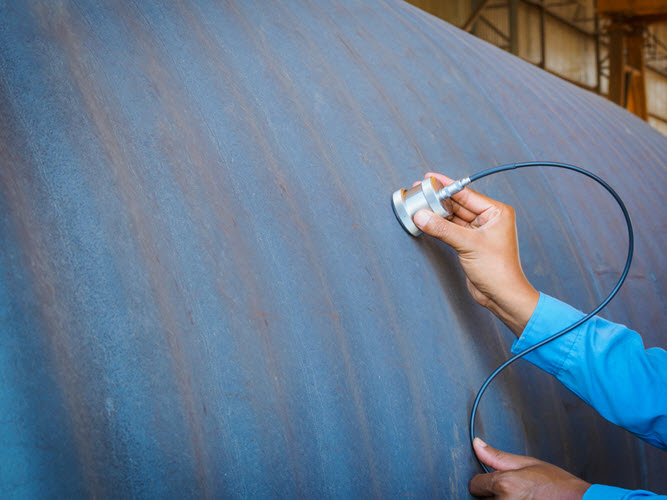
Ultrasonic thickness survey utilises high-frequency sound waves that travel through the desired object. When an echo is received from the back wall or a flaw (i.e. laminations), the ultrasonic unit gives the technician a signal response which is then interpreted and a thickness can be calculated. This process can pick up pitting and erosion from any abrasive flow medium.

Magnetic Particle Inspection (MT)
Magnetic particle inspection utilises magnetism to find surface and subsurface (approximately 3mm) imperfections in ferrous materials. Imperfections such as cracking and lack of fusion (welds) can be detected using MT.
Testing can be done to AS/NZS, ASME, & ISO standards or to a customer’s specification.
Testing for LVVTA
Magnetic Particle (MT) and Dye Penetrant (PT) inspections can be conducted on components (ie. modified struts, brake pedal modification etc.) to satisfy the certifier. The certifier will request the type of NDT necessary (usually a surface method, MT or PT). Components made of materials such as mild steel, high strength steel, stainless steel, and aluminum can be inspected.
Testing to standards such as AS/NZS 1554.1 SP & GP, AS/NZS 1554.6, & AS 1665 available.
Dye Penetrant Inspection (PT)
Dye penetrant inspection uses capillary action of liquids to detect surface imperfections in non-ferrous materials such as stainless steel & aluminium. The surface of the component under test is cleaned meticulously, and either a fluorescent or red dye is applied. The dye is then allowed to sit and enter the surface imperfections if any are present. The dye is then removed from the component and a developer sprayed. The developer draws any dye that may be trapped within surface imperfections.
Testing can be done to AS/NZS, ASME, & ISO standards or to a customer’s specification.

Visual Weld Inspection
Visual inspection is the bare minimum requirement for testing of welds in the construction industry. Our team can perform visual inspections to various AS/NZS, ASME & ISO standards, in conjunction with other forms of NDT if it is required.
All our inspectors are either CBIP certified in MT, PT or UT or/and hold IIW-IWI weld inspector’s certificates.

Welder Qualifications
Welder qualifications are an essential part of the QA package in all industries that perform or are involved in fabrication with some form of metal. Our team can supervise, test and write welder qualifications to the most common standard, AS/NZS 2980:2018.
Other standards such as ASME IX and ISO 9606 are also available. Contact us to find out which one would best suit you.
Procedure Qualifications
Procedure qualifications are fast becoming an essential part of the construction industry from large to small fabricators. Our team can supervise, test and write procedures to common standards such as AS/NZS 1554 (parts 1, 3, 6).
Other standards such as ASME IX, AS 3992, and ISO 15614 are also available. Contact us to find out which one would best suit you for the job you are working on.